Date and place
- July 5th and 6th, 1809 at Wagram, around the Lobau Island, fifteen kilometers north of Vienna, Austria.
Involved forces
- French army (131,000 men) under Emperor Napoleon the First.
- Austrian army (139,000 men) under Archduke Charles of Austria, Duke of Teschen.
Casualties and losses
- Grande Armée: around 37,000 men (5,000 killed, 28,000 injured, 3000 to 4000 prisoners) including General Lasalle.
- Austrian army: probably more than 40,000 men, including several generals, 10 flags, 40 guns.
The Battle of Wagram was a turning point in Napoleonic history. When it ended, it was the bloodiest ever fought. Following its example, the fighting would henceforth become increasingly brutal and costly in terms of men, with victories decided more by brute force and artillery duels than by sophisticated maneuvers.
The battlefied
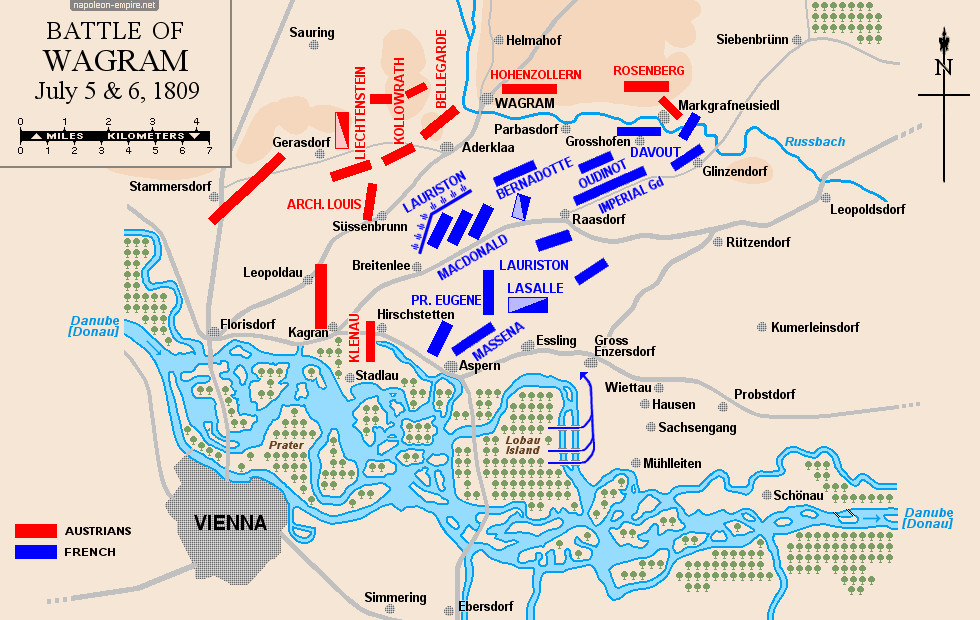
The battlefield was located northeast of Vienna [Wien], in the Marchfeld plain , a relatively flat, sprawling field on the left bank of the Danube River [Donau], about 10 kilometers from the Austrian capital.
It was bordered to the west by the Gerasdorf Heights and to the north by the Russbach river . The riverbed had a sudden drop of one to two meters and an escarpment several meters high ran along the narrow north bank.
Archduke Charles of Austria stationed the troops forming his left wing on the escarpment while his right wing was spread out between the village of Wagram [Deutsch-Wagram] and the Danube . This put his troops in a V formation around his headquarters in Wagram. His ammunition park was a few miles to the north, at Gross Engersdorf .
The fights
July 5
Napoleon had been looking for a new passage on the left bank of the Danube after the Aspern-Essling failure and on July 4, 1809 he crossed under the cover of a violent storm.
Around 9 p.m. that night, the Grande Armée crossed the northern sound of the river over three pivoting bridges from the eastern side of the Lobau island .
Archduke Charles was waiting for the enemy around and Essling at the end of the three bridges on the north of the island but his plan was soon thwarted.
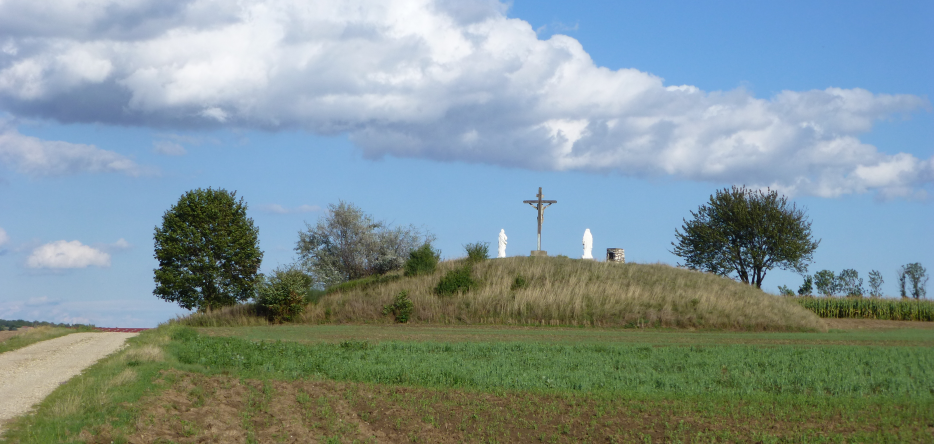
The two armies, who had been in contact throughout the night, faced one another in earnest the next day, observed at the telescope by the Emperor of Austria, who for the occasion left his retirement in Wolkersdorf to settle down on a mound [Keltisches Hügelgrab Kalvarienberg] [48.35770, 16.52772] near Pillichsdorf , north of Wagram:
Marshal André Masséna, confined by an injury to a carriage, was in command of the left flank of the French troops in front of Aspern and Essling, while Marshal Louis-Nicolas Davout was on the right, around Glinzendorf .
These two were able to act with a certain amount of freedom because there was a delay in communications between the flanks and the centre where Napoleon was in command [48.26846, 16.55839], north of Raschdorf [Raasdorf], with Marshal Jean-Baptiste Bernadotte and Prince Eugène de Beauharnais (accompanied by Étienne Macdonald).
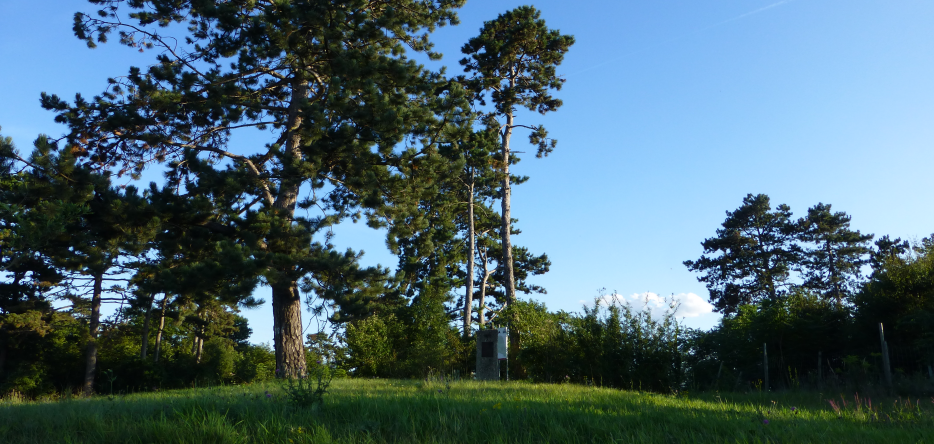
However, Napoleon was surprised by the square formation adopted by Archduke Charles in the plain and on the Wagram plateau. Around 6 p.m. he decided to strike a decisive blow and launched a frontal attack on Wagram.
Macdonald broke through the enemy lines and Bernadotte managed to enter the village, but Archduke Charles rallied his forces and successfully pushed back the attack. In Baumersdorf [today Parbarsdorf] , while Napoleon himself was attending the fight, Oudinot failed before the heroic resistance of General Ignaz zu Hardegg 's brigade.
Hard street fighting took place in the village of Aderklaa . When the disorder reached the French line, due to a confusion between Austrian uniforms and those of the Saxons under Bernadotte, the attack was abandoned. The day ended inconclusively for both sides.
July 6
During the night, the two sides reversed their formations. While Napoleon gathered his forces together, Archduke Charles spread his out along the two flanks, convinced that the troops on the Wagram plateau were capable of resisting any attack.
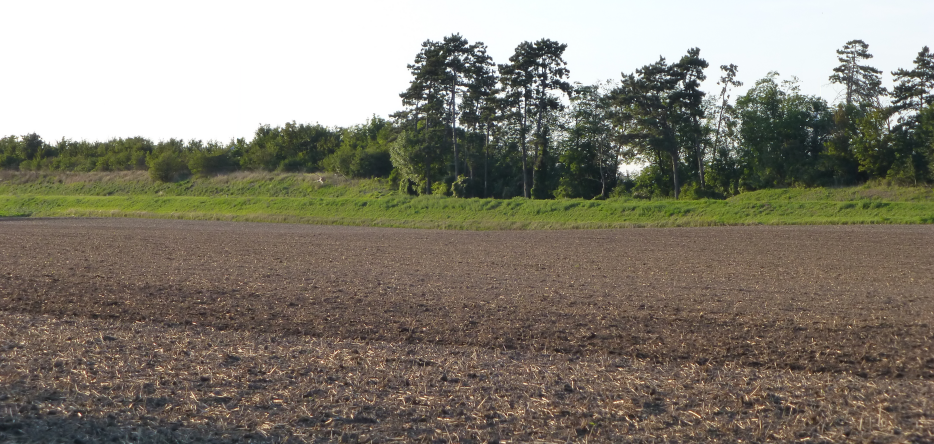
The next morning the Austrians went on the offensive. General Franz Seraph von Rosenberg-Orsini tried to overwhelm Davout on his right while on the other wing, Generals Johann von Klenau and Johann Karl von Kollowrath followed the Danube to get around the Duke of Rivoli (Masséna). In the centre, the French came under heavy artillery fire as they began to retreat to the village of Rassdorf.
By 9 a.m. this situation was developing rapidly;
- The French Army had been forced into a semi-circle between Aspern and Groshofen , but Jean Boudet 's division on the far left of the formation was separated from the centre by such a wide gap that he was forced to retreat toward Enzersdorf putting the Austrians in range of the French bridges over the Danube;
- On the left, the Austrians had ceased their advance to avoid splitting up their force;
- In the center the entire plain between Wagram and Aspern was under heavy artillery fire.
Across the board, the Austrians were either advancing rapidly or in control of the situation.
Napoleon decided to send his central force into the battle. He ordered Macdonald's troops to march in battalion columns with the support of the Imperial Guard cavalry, Etienne-Marie-Antoine-Champion de Nansouty 's cuirassiers and about 100 artillery canons. Thanks to the artillery, under the command of Jacques Alexandre Law de Lauriston, the Austrian advance was stopped and their fire contained.
The French continued to advance but the enemy's central force resisted. The two armies, unable to move, exchanged heavy blows with little effect.
However, Napoleon still had reserves to call upon while the Austrians had already committed all their forces to the battle. On the left, Masséna began to advance after receiving reinforcements. On the right, Davout launched an attack on the heights around the village of Markgrafneusiedl with generals Charles Antoine Louis Alexis Morand , Louis Friant , Charles Étienne Gudin , Louis-Pierre Montbrun and Emmanuel de Grouchy at the head of his divisions.
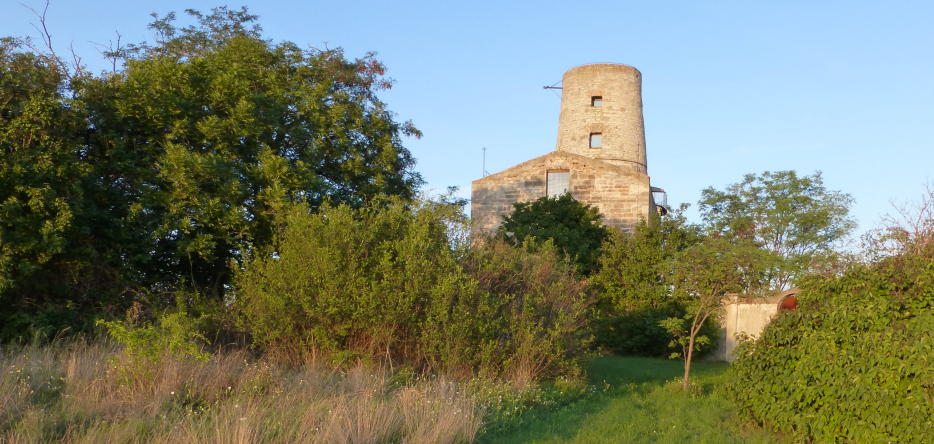
Despite heaving artillery fire and fierce resistance from the Austrians, Davout was able to gain a foothold on the Wagram plateau.
Seeing the Duke of Auerstaedt (Davout)'s success, Napoleon ordered Generals Etienne Macdonald and Nicolas Oudinot to launch a central attack at noon. Macdonal advanced toward Süssenbrünn at the head of a huge square of eight thousand men (one kilometer a side!), while Oudinot crossed the Rüssbach , took the village of Wagram, climbed to the plateau and joined forces with Davout.
By 2 p.m. the French offensive had largely succeeded and the Austrian left flank had begun to pull back toward the road to Vienna at Znaïm [Znojmo] . By 6 p.m. they were joined by the rest of the Austrian army. Napoleon was assured of victory.
Tried and disorganized, the French cavalry was unable to give chase. The Austrian withdrawal proceeded without incident despite the best efforts of Marshal Jean Baptiste Bessières which ended when the Marshal was wounded by a stray bullet and those of General Antoine Charles Louis de Lasalle who was killed in the confusion. However, the Austrian defeat did not turn into a rout.
At 5 p.m. Archduke John, who had been expected by the Austrians throughout the day, arrived with his army but was too late to influence the outcome of the battle. The French victory was confirmed and the Archduke had no choice but to follow his brother on the road to Vienna.
Map of the battle of Wagram
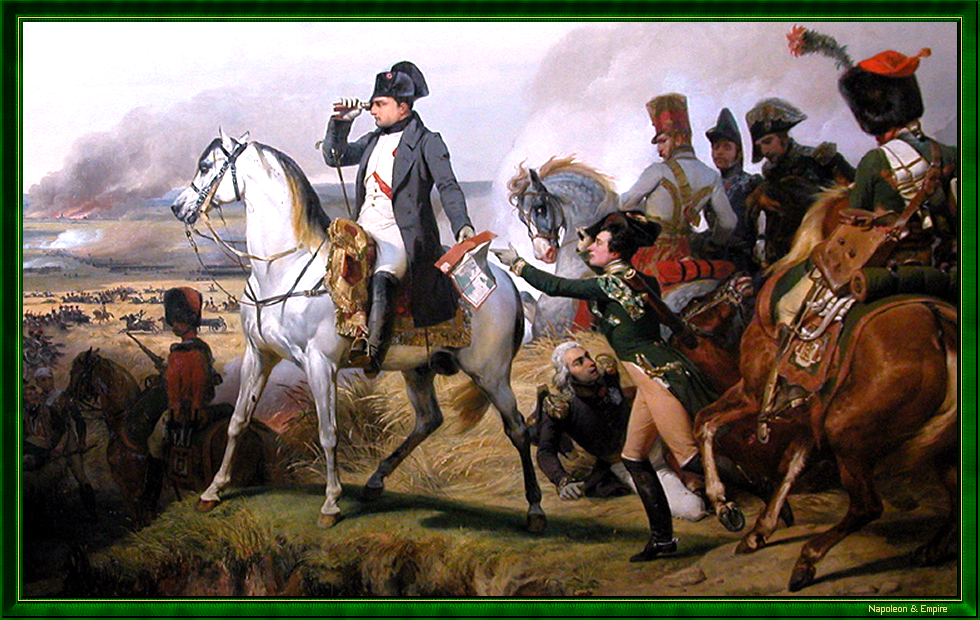
Picture - "Battle of Wagram, July 6th, 1809". Painted 1836 by Emile Jean Horace Vernet.
Photos Credits
Photos by Lionel A. Bouchon.Photos by Marie-Albe Grau.
Photos by Floriane Grau.
Photos by Michèle Grau-Ghelardi.
Photos by Didier Grau.
Photos made by people outside the Napoleon & Empire association.